


 Johnno speaks, we listen... because it's brisket and it's Johnno
 Johnno speaks, we listen... because it's brisket and it's Johnno
 With Johnno
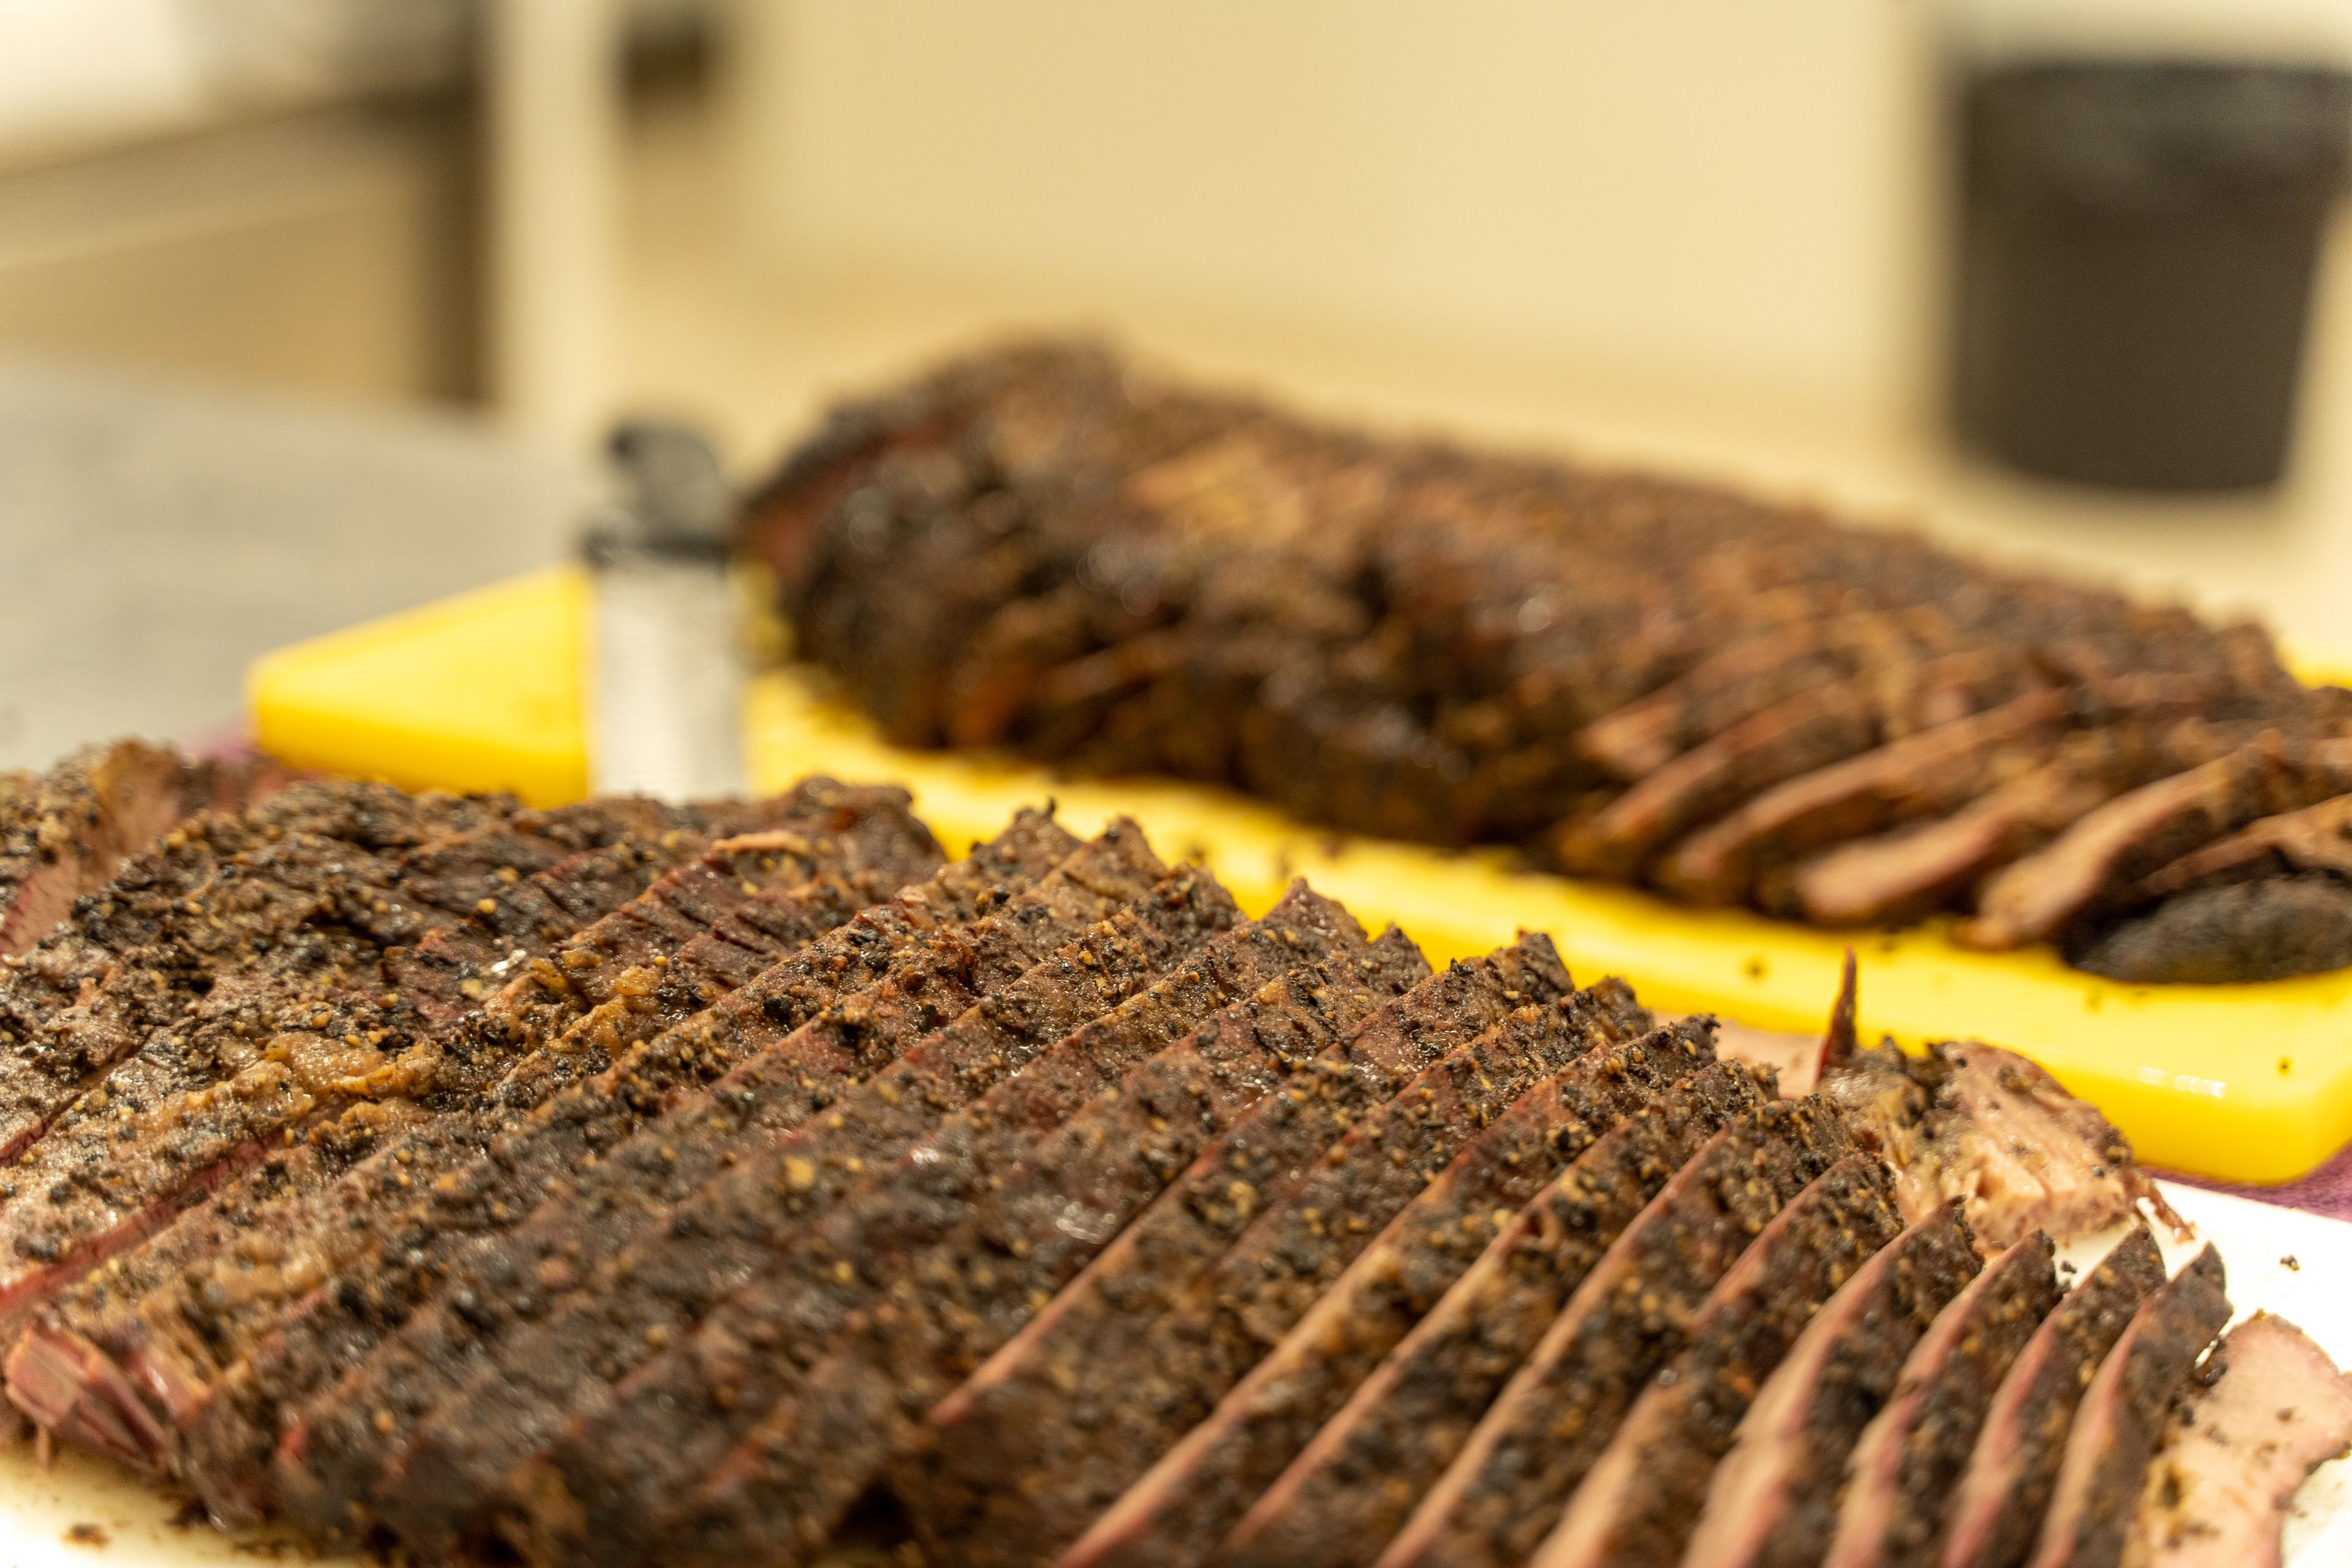
Plating a brisket that gets the oohs and aaahs, the admiration and glowing adoration that warms the heart etc is great for the ego, but the big reward is knowing yourself, that you are delighted with what you’ve achieved. The hours have not been wasted, the concentration has been rewarded, all is well with the world. While each brisket holds within it, its own secrets, there are some things that we should all know about and I’d like to share what I have found to be… VITAL!
Okay, put simply, there are 5 things you need to remember to keep your brisket journey on the straight and narrow.
1. Preparation is key! Make sure you have everything you need before you start so that during the cook you’re not ducking out to get supplies, like rubs which is a momentum/enthusiasm killer. I’ve been there and it messes with your head. Here are some related dot points to remember.
a) You’ll always use rub so make double, it’s not expensive, so you may as well.
b) You can never have enough fuel, so ensure you’ve got enough wood/pellets/charcoal
c) Stock up on gloves: running out could mean a quick trip to… hospital with burns – you don’t want that.
d) Avoid the dreaded battery crisis when your temp probe runs out of power…. OH COME ON! Solution: have spare batteries on hand.
 Then, run your prestart checks and have everything sorted well before the cook - even a week in advance (Yes, a week! When it comes to brisket things get serious).
2. Preparation part 2, the must-see sequel. Take your brisket out of the fridge at least 8 hours before (applicable for briskets between 7-11 kg) and take it out of the package at T-1 hour. Doing this will allow your brisket to come to ambient room temperature. This achieves a couple of things, it:
a) allows time for the brisket to go from say around 4 degrees (from your fridge) to room temp - that’s a lot of cook time you’ve just reduced and wood-pellets-charcoal you’ve saved.
b) helps to avoid overcooking the outside as you strive for the target internal temperature – by the way, you can use the same guidelines that apply to both steaks and roasts.
3. The pit: Set your pit up with a nice steady temperature, if possible, out of the elements (rain has spoiled my cooks more than once). Get to know your pit as they all are different in their own ways. Here’s a quick checklist to ensure readiness:
a) clean the grates
b) remove the ash and grease from the baffle plates, deflector plates and or buckets. You don’t need to be servicing your pit during a cook
c) keep your wood/pellets/charcoal close when your pit temperature is dropping - you don’t want to be running around in a panic looking for your pit fuel.
4. The cook - Why is it difficult to hold steady temp? This is a question that’s plagued me for years. If you’re finding this difficult most likely “it’s not you (I say most likely) it’s the pit.” With a good pit you should be able to set the vents, monitor your temp, add some fuel when the temperature starts to drop, shut doors/close lid and get back to the temp you were at prior to adding more fuel if you’re using an offset. Remember white/dirty smoke must be avoided - this is another section I will cover in a future article [Ed. Presumptuous – I like the confidence].
a) Think about flipping and turning the brisket during the cook and remember, most pits will produce more heat closer to the heat source… [Ed. WHAT?] I know shocking! Flipping and turning your brisket will even out the amount of doneness of your brisket.
b) Use a good temperature probe!! For me, and this is just my personal preference, the MEATER probe is my go-to but I’ll cover that in another article also [Ed. Poking the bear…].
c) If you find your brisket is looking dry, well guess what it is (gasp!) – time to act! Also, if you’re in the midst of the dreaded stall, you can help both these scenarios by basting the brisket in fat - butter or rendered fat trimmings will do wonders to combat these issues.
5. The rest / resting the brisket: The rest is not history; you need to stay with me for a bit longer because it is just as important as the cook. There are a few more steps to take to make sure your brisket yields the best results. A nicely marbled brisket will need no extra help but if you find you are cooking with something a bit leaner:
a) open your wrap and add some fat, be it butter or rendered brisket fat trimming (perfect) to the wrap before you rest
b) allow the brisket to cool because if you carve/slice the brisket while it’s too hot, tragically, all your hard work will be undone, all those hours of toil wasted and your pride (probably) in tatters for the sake of just a few minutes. But let’s not keep you guessing. Here are some warning signs that your brisket is too hot to carve:
i. Steam! If there’s excessive steam, it’s too hot
ii. Ouch! If it’s too hot to hold while carving it’s too hot
iii. if you find it oxidises after carving, it’s too hot. You’ll notice oxidation when a freshly cut, nicely presented slice starts to turn dull and grey – that’s not very visually appealing to you or your guests.
Remember practice, practice, practice!!
Final thoughts in really short sentences. Take your time. Let the meat do its thing. Don’t panic. Enjoy the experience and take note of what’s going on.
Pro tip: Ignore the family and friends when they ask “when will it be ready?” and if you find yourself no longer able to continue for whatever reason, put the brisket in your oven at around 100c and continue the next day. So, go ahead, reread this piece, keep it close and ready yourself for the next triumphant brisket parade. Motivational tip when things get difficult: Visualise the wows and gasps as you slice and present pure, pristine, awe-inspiring brisket to your audience and…. FEAST ON!